Edit Map: Conventions
-
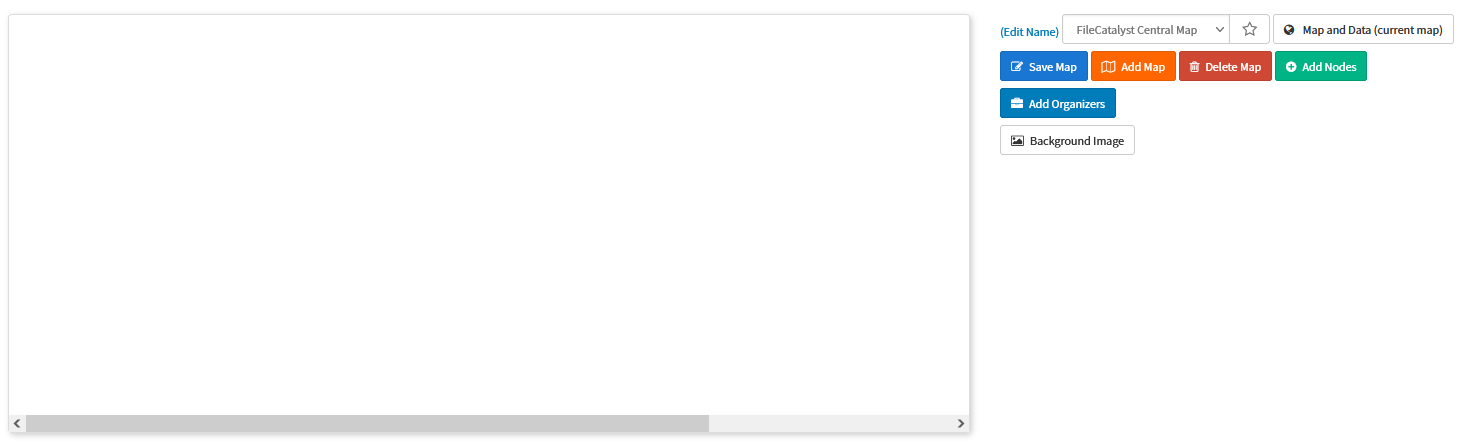
The “canvas” is the area in which the map will be drawn.
-
The “Edit Name” link prompts the user to set or edit the map's name.
-
If a map already exists, you can switch to it using the select box. The star icon is used to set the selected map as favorite. The favorite map will be the default map in the Map and Data view.
-
The Map and Data (current map) button allows switch between editing maps and the Map and Data view. You must save your changes before switching to the Map and Data view, or they will be lost.
-
The Save Map button saves the current state of the map.
-
The Add Map button begins the creation of a new map.
-
The Delete Map button deletes the currently selected map.
-
The Add nodes button invokes a dialog allowing the administrator to select nodes and add them to the map.
-
The Add Organizers button invokes a dialog for creating an “organization unit” (more details in Edit Map: organizers section).
-
The Background Image button invokes a form responsible for adding or selecting a background image, as well as modifying related properties.